Create Your First Data Flow
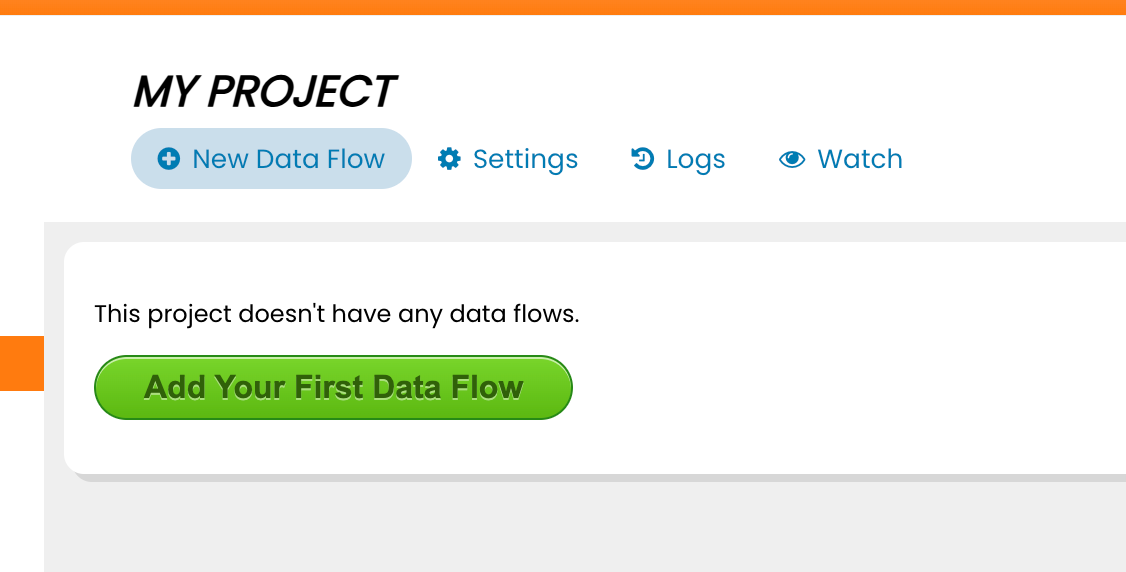
Click on a project to load Instalink's Graphical Process Modeling (GPM) interface which facilitates the creation and management of the data flows. All data flows in the project are listed here. A button labeled, "Add Your First Data Flow" appears when the project has no data flows. Press this button to add the first data flow.
Add a Listen Endpoint
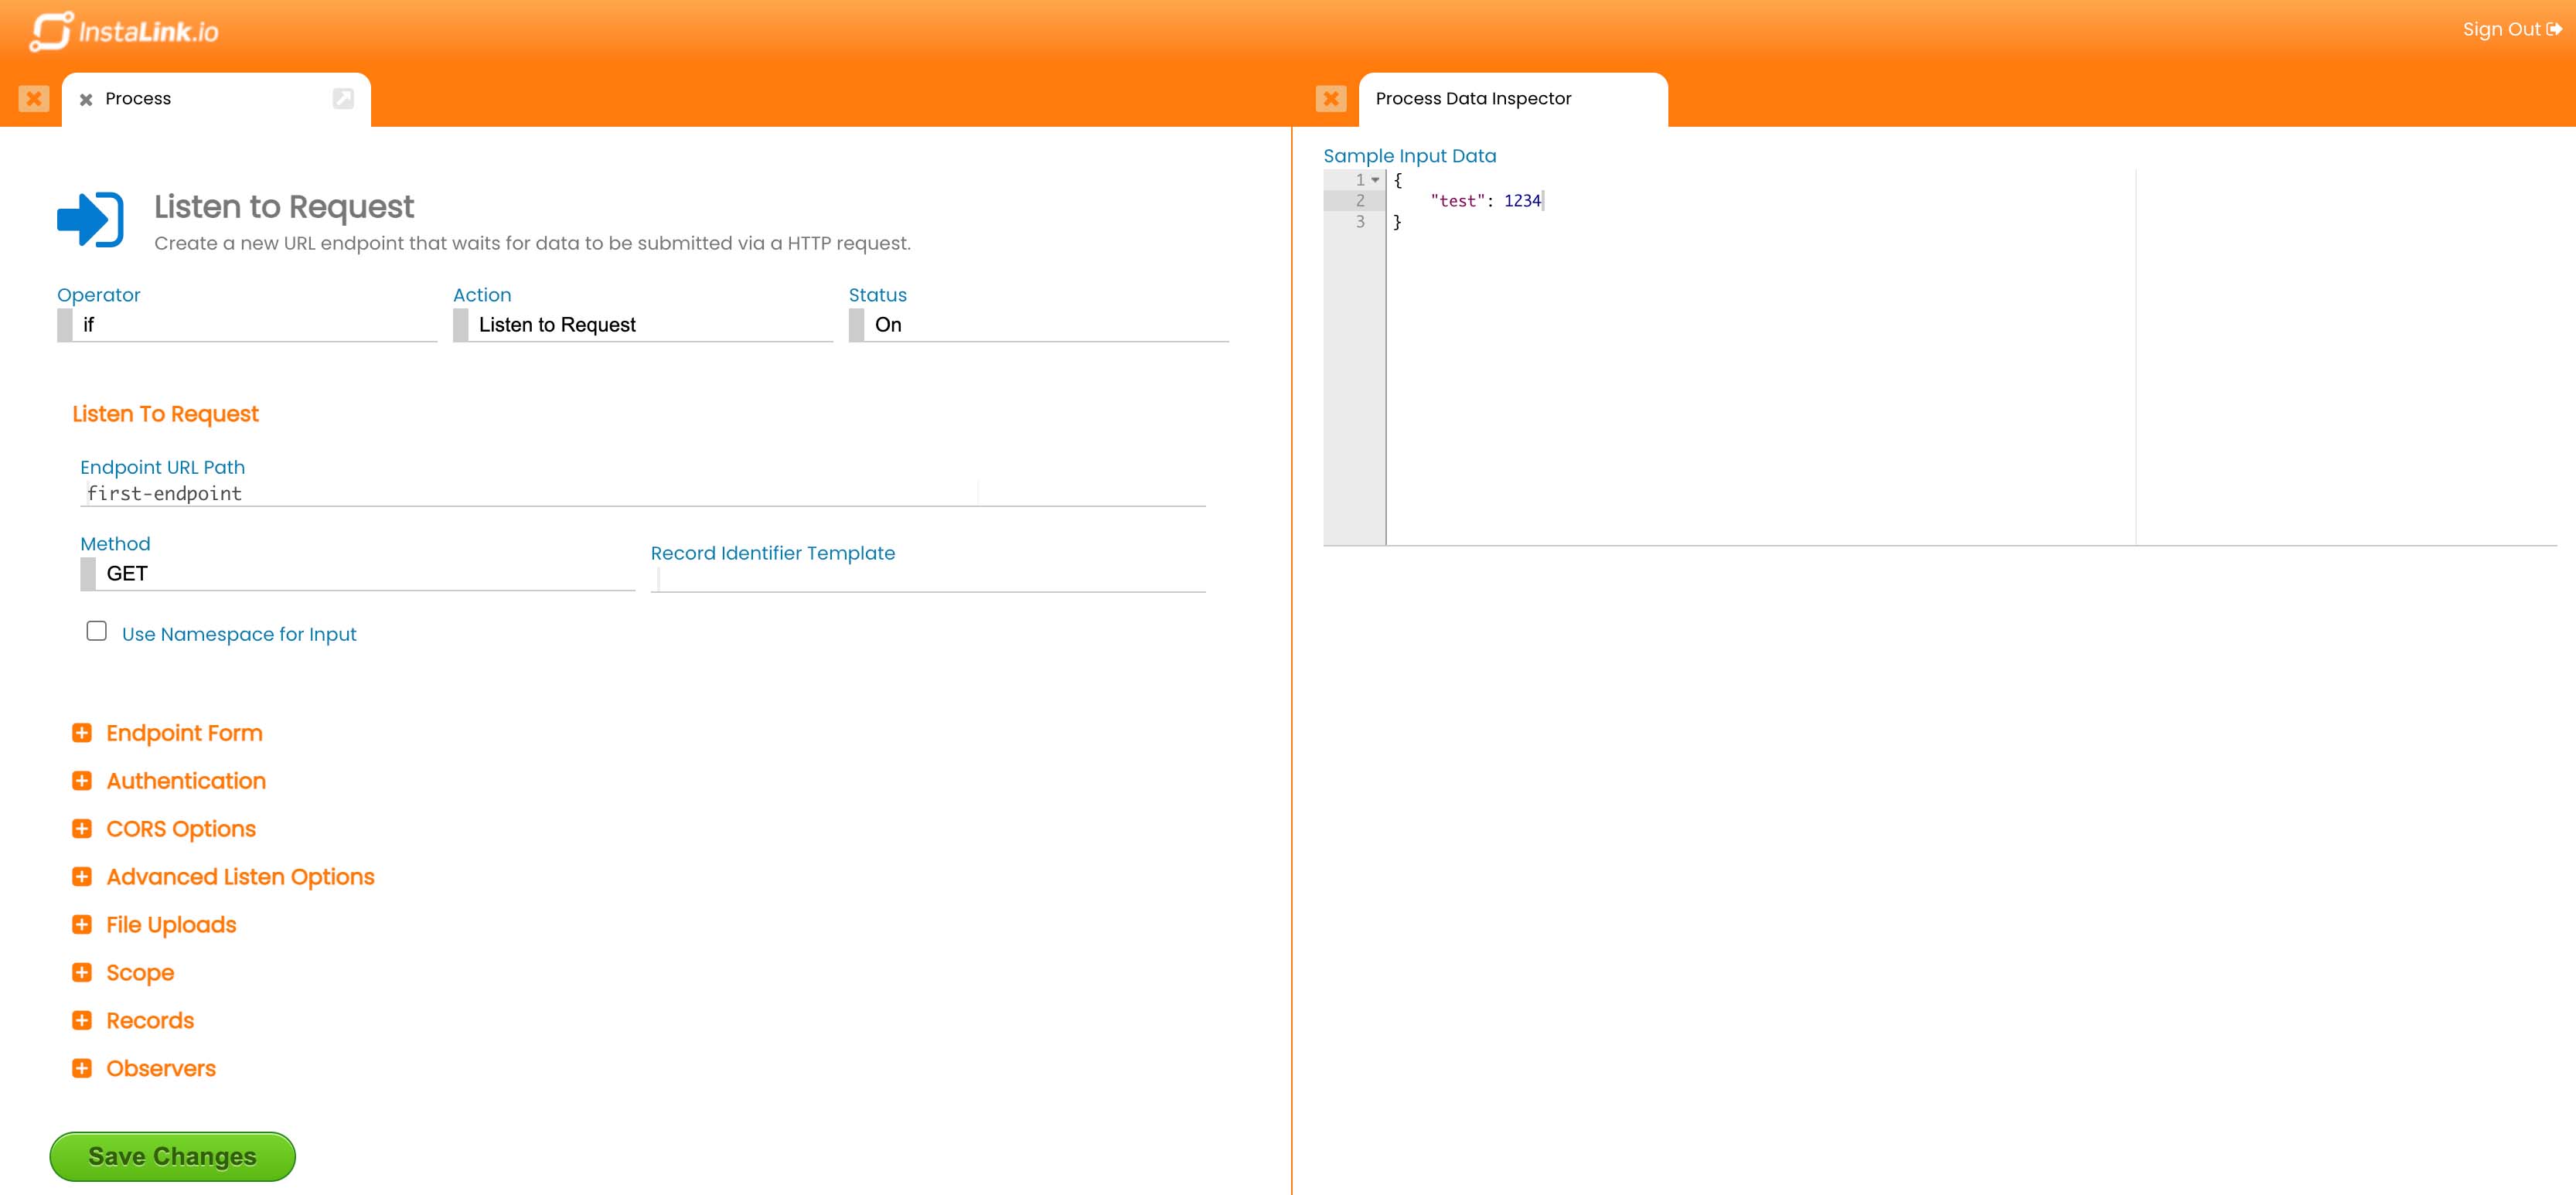
The action selection view will appear on the right side panel. The interface will scroll horizontally to reveal the Process Data Inspector tab. The action selection view shows recommended actions to use at the current point in the data flow. Because this is the first action in the flow, the application will recommend actions that are appropriate to be run as the initial action. Click on "Listen to Request" to view the form for creating a new URL endpoint.

A brief description of the action can be found at the top of this form. Beneath that are the Operator, Action, and Status selection.
The main section of the form contains the basic options for the action. Enter the URL path that will be used for this endpoint. The URL path is relative to the account's host name.
The bottom section of the form contains advanced options. See Listen to Request Action documentation for more details about these options.
The Process Data Inspector tab includes an input field labeled "Sample Input Data". In JSON format, enter an example of the data that the endpoint will expect to process. This sample data is used, only within the admin panel, to allow developers to test the functionality of the data flow without having to run it.
Click the "Save Changes" button to commit the new action to the data flow.
Respond to the Caller with a Success Message
The view will reload and will now include an inline view of the actions current location within the data flow. Click on the "then" button to add a child action with the "THEN" operator.
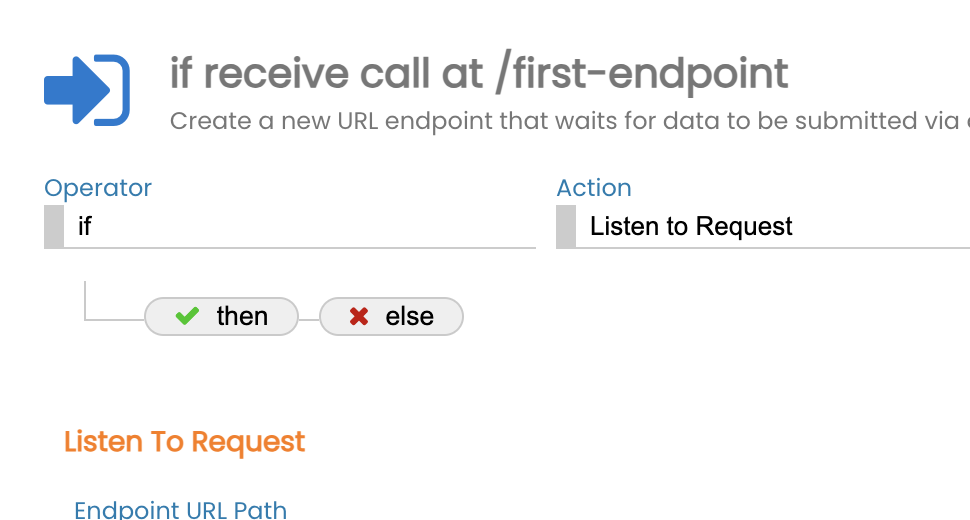
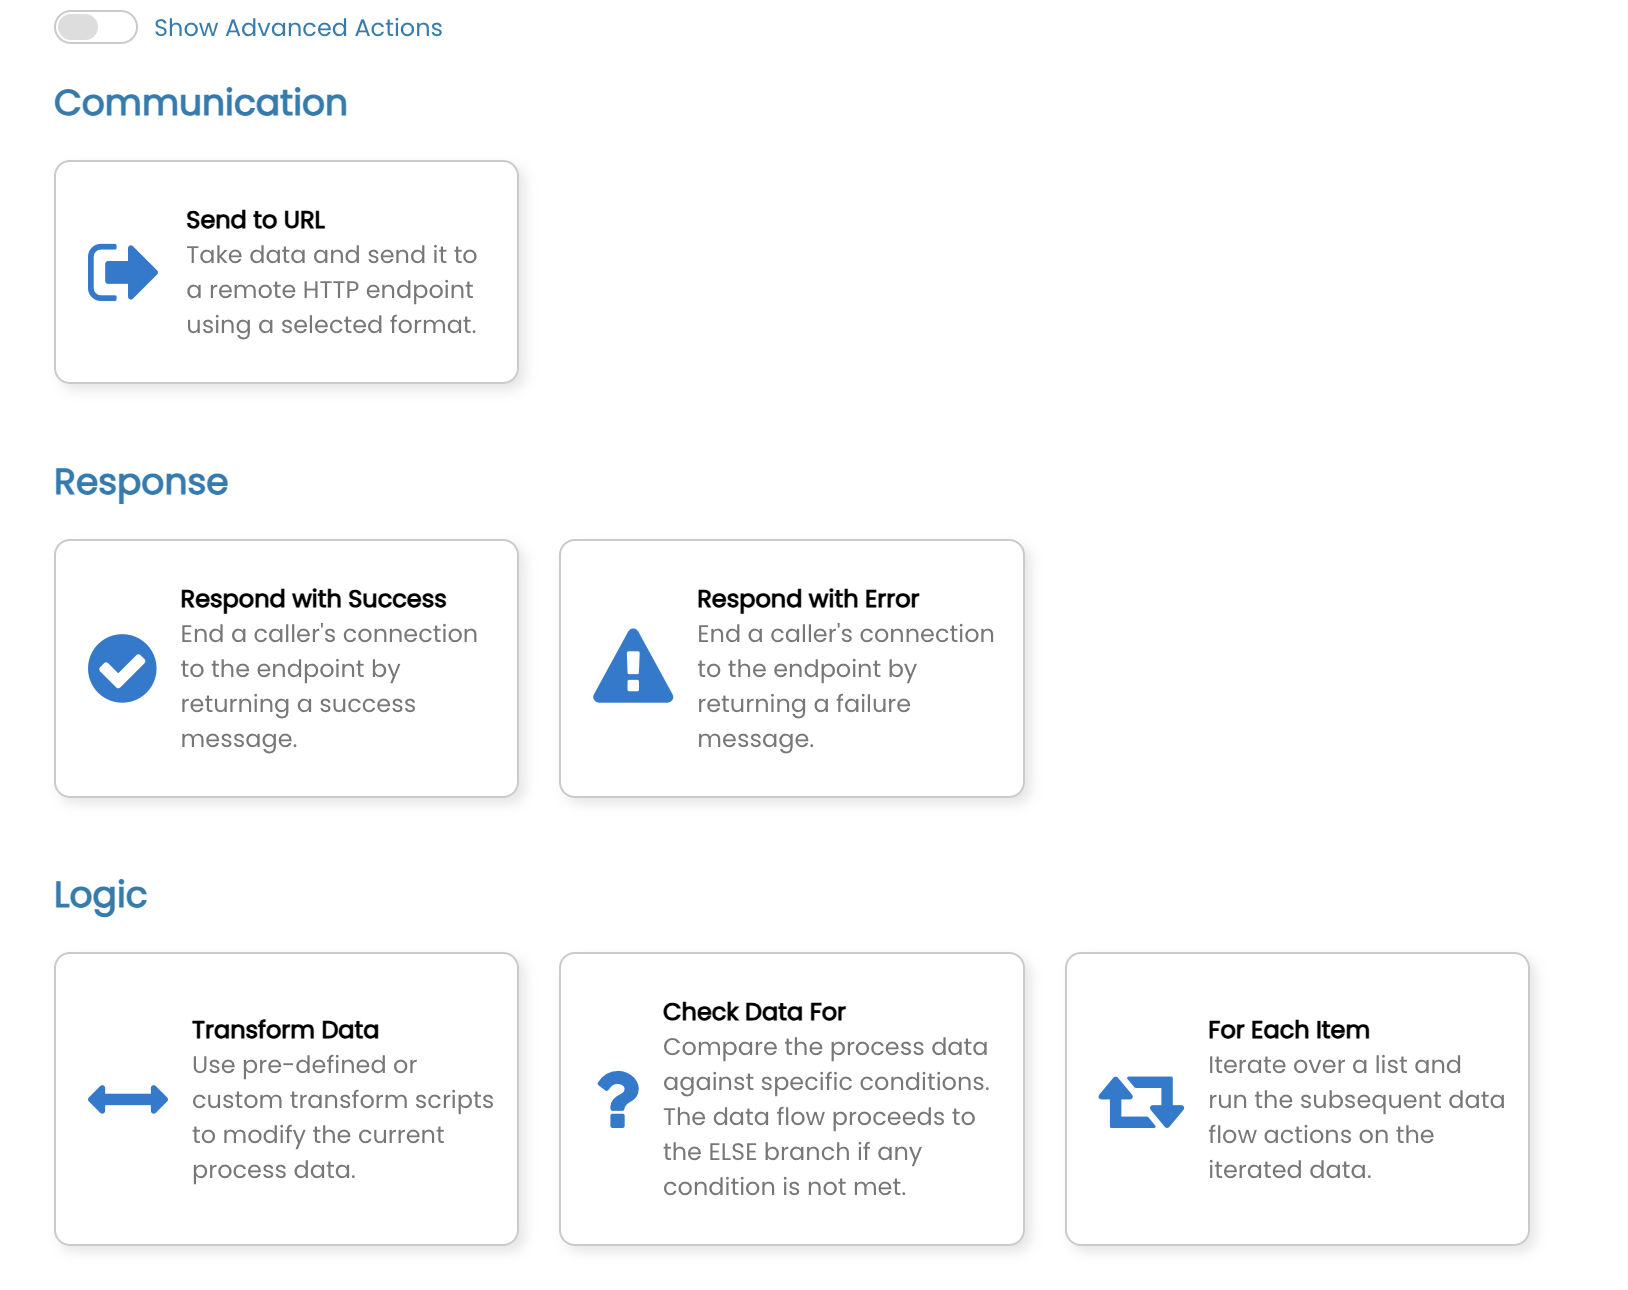
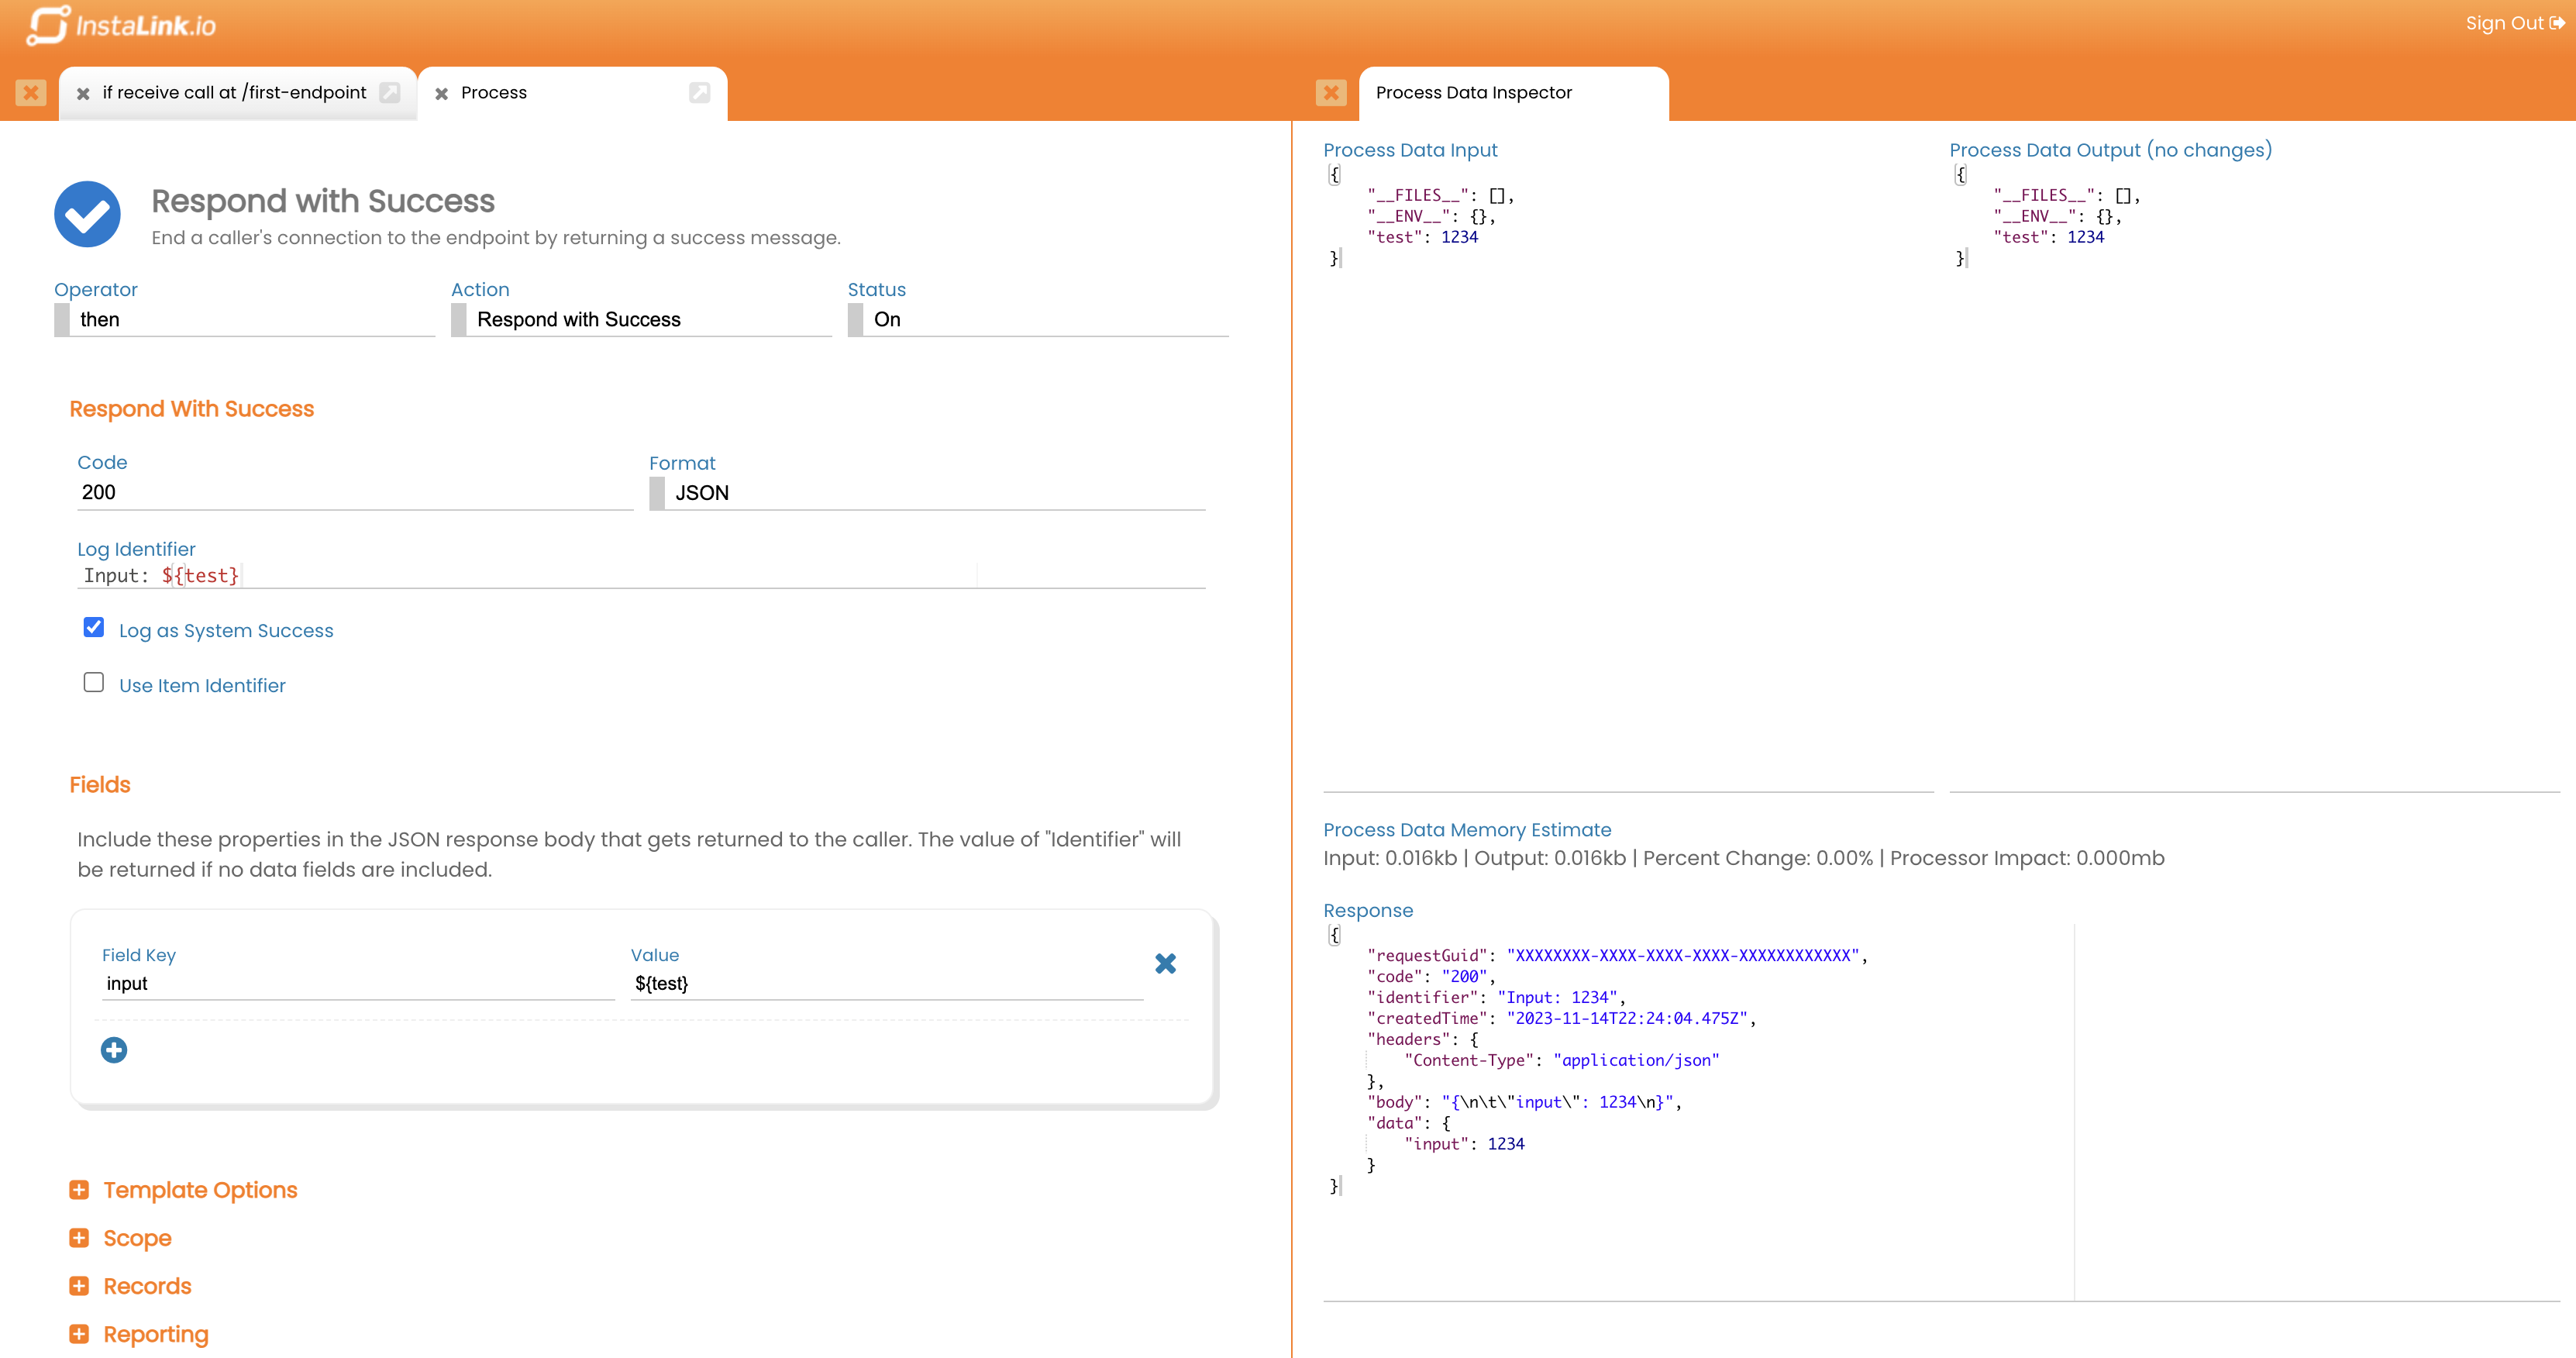
The action selection screen will again appear, this time with recommended actions that are appropriate to be run with the "THEN" operator. Select "Respond with Success" action to view the form for sending a response to the endpoint caller.
The main section of the form contains the basic options for the action. Use template syntax to update the "Log Identifier" with information from the process data that will be helpful for finding specific logs later. Use the Process Data Inspector to see what data keys are available in the process data. You can also type "$" in the input field to bring up the inline process data inspector.
Use the "Fields" sub list to include data in the body of the response. Select a field key to use and then use template syntax to set the key to specific value. Check the "Response" section of the Process Data Inspector to confirm that the response is constructed as expected.
See Respond with Success for more details on how this action works.
Click the "Save Changes" button to commit this action to the data flow.
Scroll the entire page horizontally to the left to return to the data flow listings. Tabs, and tab groups, can also be closed as needed to clear up space in the layout.